


I’ve never met anyone who did not enjoy Oreo cookies. Remember the days when we’d dip them in ice cold milk for an afternoon snack? If you still do it, thanks for being a kid! Mmmm…great for after school. The cookies in this recipe are actually "open-faced" sandwiches. You can also make full sandwiches if you like.
This Crumbl inspired recipe takes me back to those days of chocolatey sandwich cookies with that sweet creamy middle. Twist the two chocolate cookies apart to reveal the tasty white middle.
We were lucky because we could even make chocolate milk with Mom’s homemade chocolate milk mix. She kept the dry mix in a big two quart glass jar in the lower kitchen cupboard. She even had written the instructions on a paper and taped it to the side. In fact, we didn’t even need milk since she always made the dry mix with dried milk. And when we were old enough, we could heat up water on the stove (and later in the microwave) to make hot chocolate and toss marshmallows in it. That was the best – Oreo cookies dipped in hot chocolate with marshmallows!

This is a cookie with cookies inside and on top! Oreo cookies are so popular that it’s a must to make these cookies – with Oreo cookies inside and on top. Or, make them as open faced cookies - Yum! Mix Oreo cookie crumbs inside the cookie dough, and sprinkle Oreo crumbs on top. Then you’ll add more crumbled or even mini-Oreos on top. They are Oreos inside and on top – YUM YUM!!!
This recipe is for open-faced cookies, but if you can also make cookies sandwiched around a creamy white frosting center. What a delight! You can even twist the two outside cookies apart to reveal the creamy white center just like the store bought version! Make sure you are generous with the spread of that delicious frosting in the center. It’s unbelievable!
This recipe makes 20-30 open-faced cookies, depending on how large you make them:
Scoop them smaller to get more cookies for little hands, and larger to make fewer cookies for big kids. If you sandwich them with frosting inside, you'll end up with about half that amount of cookies.

Preheat your oven to 350F degrees.
Prepare your baking pans:
Line each pan with parchment paper to make removal of the cookies and cleanup much easier.
Gather up your Oreo Cookie Ingredients:
1 ½ C Butter (3 sticks), room temp
¾ C Sugar
1 ½ C Brown sugar
2 Eggs
1 T Vanilla extract
3 C Flour
1 ½ t Baking soda
1 t Baking powder
½ t Salt
1 C Cocoa powder, sifted
2 ½ C Oreo cookie crumbs for the cookie dough
1 C Oreo cookie crumbs for on top of frosting
Extra Oreo cookies to break up and plant on top of the frosting.
(About 12 Oreo cookies crushes into about 1 cup of crumbs)

Gather up your Oreo /cream Buttercream Ingredients:
1 C Butter (2 sticks), room temp
2 t Vanilla extract
Pinch of Salt
4 C Powdered sugar
4-6 T Milk or cream
½ C Oreo cookie crumbs, finely crushed, optional
Mix up and bake the Chocolate Oreo Cookies:
-Crush the Oreo cookies in the food processor. The entire cookies should be crushed into rough crumbs, not super fine. You should have 2 ½ cups of crumbs for the cookie dough and another cup for sprinkling on top of the buttercream after it’s spread on the cooled cookies. If you like, crush another ½ cup fairly fine for adding to the buttercream frosting.
-With the paddle attachment on your electric mixer, beat the room temperature (not melted) butter and sugars together till light and fluffy.
-One at a time beat in the eggs until well combined.
-Beat in the vanilla extract.
-In a separate bowl, combine the flour, cocoa powder, baking soda, baking powder and salt. -Sift the dry mix into the wet mixture.
-Stir in the Oreo cookie crumbs until well combined.
-Using a ¼ cup cookie scoop, form about 20 cookie dough balls.
-Place the cookie dough balls on your parchment paper lined baking pans, pressing the balls down a little. Then press an indentation in the centers. I use a small bottomed plastic glass, leaving a ridge all around the outer edge of each cookie. This helps bake the centers.
-Bake at 350f degrees for 10-12 minutes. The centers may puff up a little.
-Let the cookie set up and cool on the pan for 15-20 minutes.
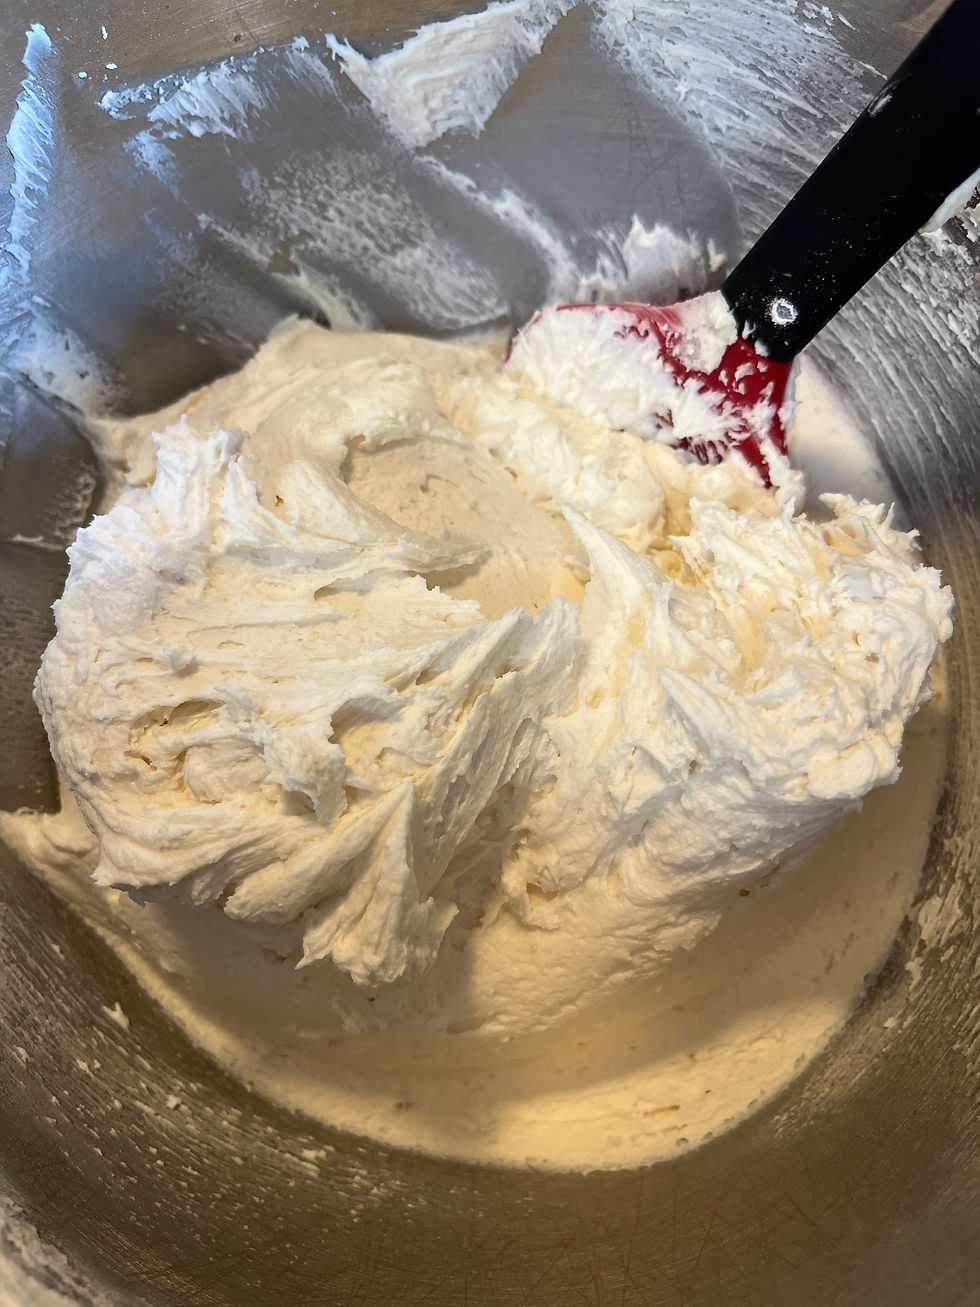
Mix up your Oreo Buttercream Frosting:
-Bring the butter to room temperature. Then beat it until light and fluffy.
-Add powdered sugar, 2 cups at a time and beat each time until fluffy.
-Add a pinch of salt and milk and beat in. Add more milk or powdered sugar depending on the consistency you’re looking for. It should be easy to spread on the cooled cookies.
Assemble your Chocolate Oreo Cookies:
-Generously spread or pipe the Oreo Buttercream Frosting on each cooled Oreo Cookie.
-Before the frosting crusts or dries, sprinkle Oreo cookie crumbs on each cookie. This will make them somewhat stackable for packing in a cookie box, etc.
-If you want to pack Oreo cookies on top, too, break up some cookies and plant the pieces on top of the frosting. I like to plant some of the mini-Oreos sticking up on top, or break regular Oreos in half to add.

Options:
-Make sandwich Oreos by frosting only half of the cookies. Sandwich each unfrosted cookie with a frosted one to attain the sandwiches. Usually, I frost the flat side and adhere the flat side of an unfrosted cookie to make the sandwiches. If you want the flat sides on the outside of the cookies, that’s an option, too.
-How about using different types of Oreos on top of the cookies for various holidays throughout the year? Decorate the tops with Halloween, green Mint, Lemon, red velvet or other types of Oreo cookies to coincide with holiday dates…St. Patrick’s Day, Valentine’s Day, Christmas, etc.
Storage:
-I usually do not plan to keep cookies at room temperature more than a few days. They just do not last that long in our house. Therefore, sometimes I freeze the cookie dough in airtight containers so I don’t have to bake all of them at once. It’s easy! However, I do store them in airtight container on the kitchen counter for a few days, 3-5.
-Freeze the cookie dough by scooping and forming the cookie dough balls. Place them on a covered parchment paper
lined pan and freeze for an hour. When they’re hard, toss them into a sealable plastic bag and then double bag them. Label the bag with the name of the cookie, date of freezing, baking directions, temp and time. Then you can grab as many as you like for baking. Thaw them on a parchment paper lined baking pan for 20-30 minutes. -Bake as directed in
the “Mix and Bake” directions above. I freeze them for up to a month. I usually have 3-4 different types of cookie dough balls in my freezer to grab and bake in case I have a last-minute event to take them to.

-NOTE: I never freeze the baked cookie with the toppings already added. I find that the baked cookies freeze much better and thaw and taste better without those toppings frozen on top. I thaw the frozen baked cookies on a pan on the kitchen counter, make the frosting fresh and crumble some Oreo cookies, then assemble.
These cookies are fun to make with kids along for the ride. Let them help with the measuring of ingredients, mixing the dough and decorating. It’s fun for them and educational – but don’t tell them that! Whoever you make your Chocolate Oreo Cookies with, “Bake your own Memories!”
Comentários